
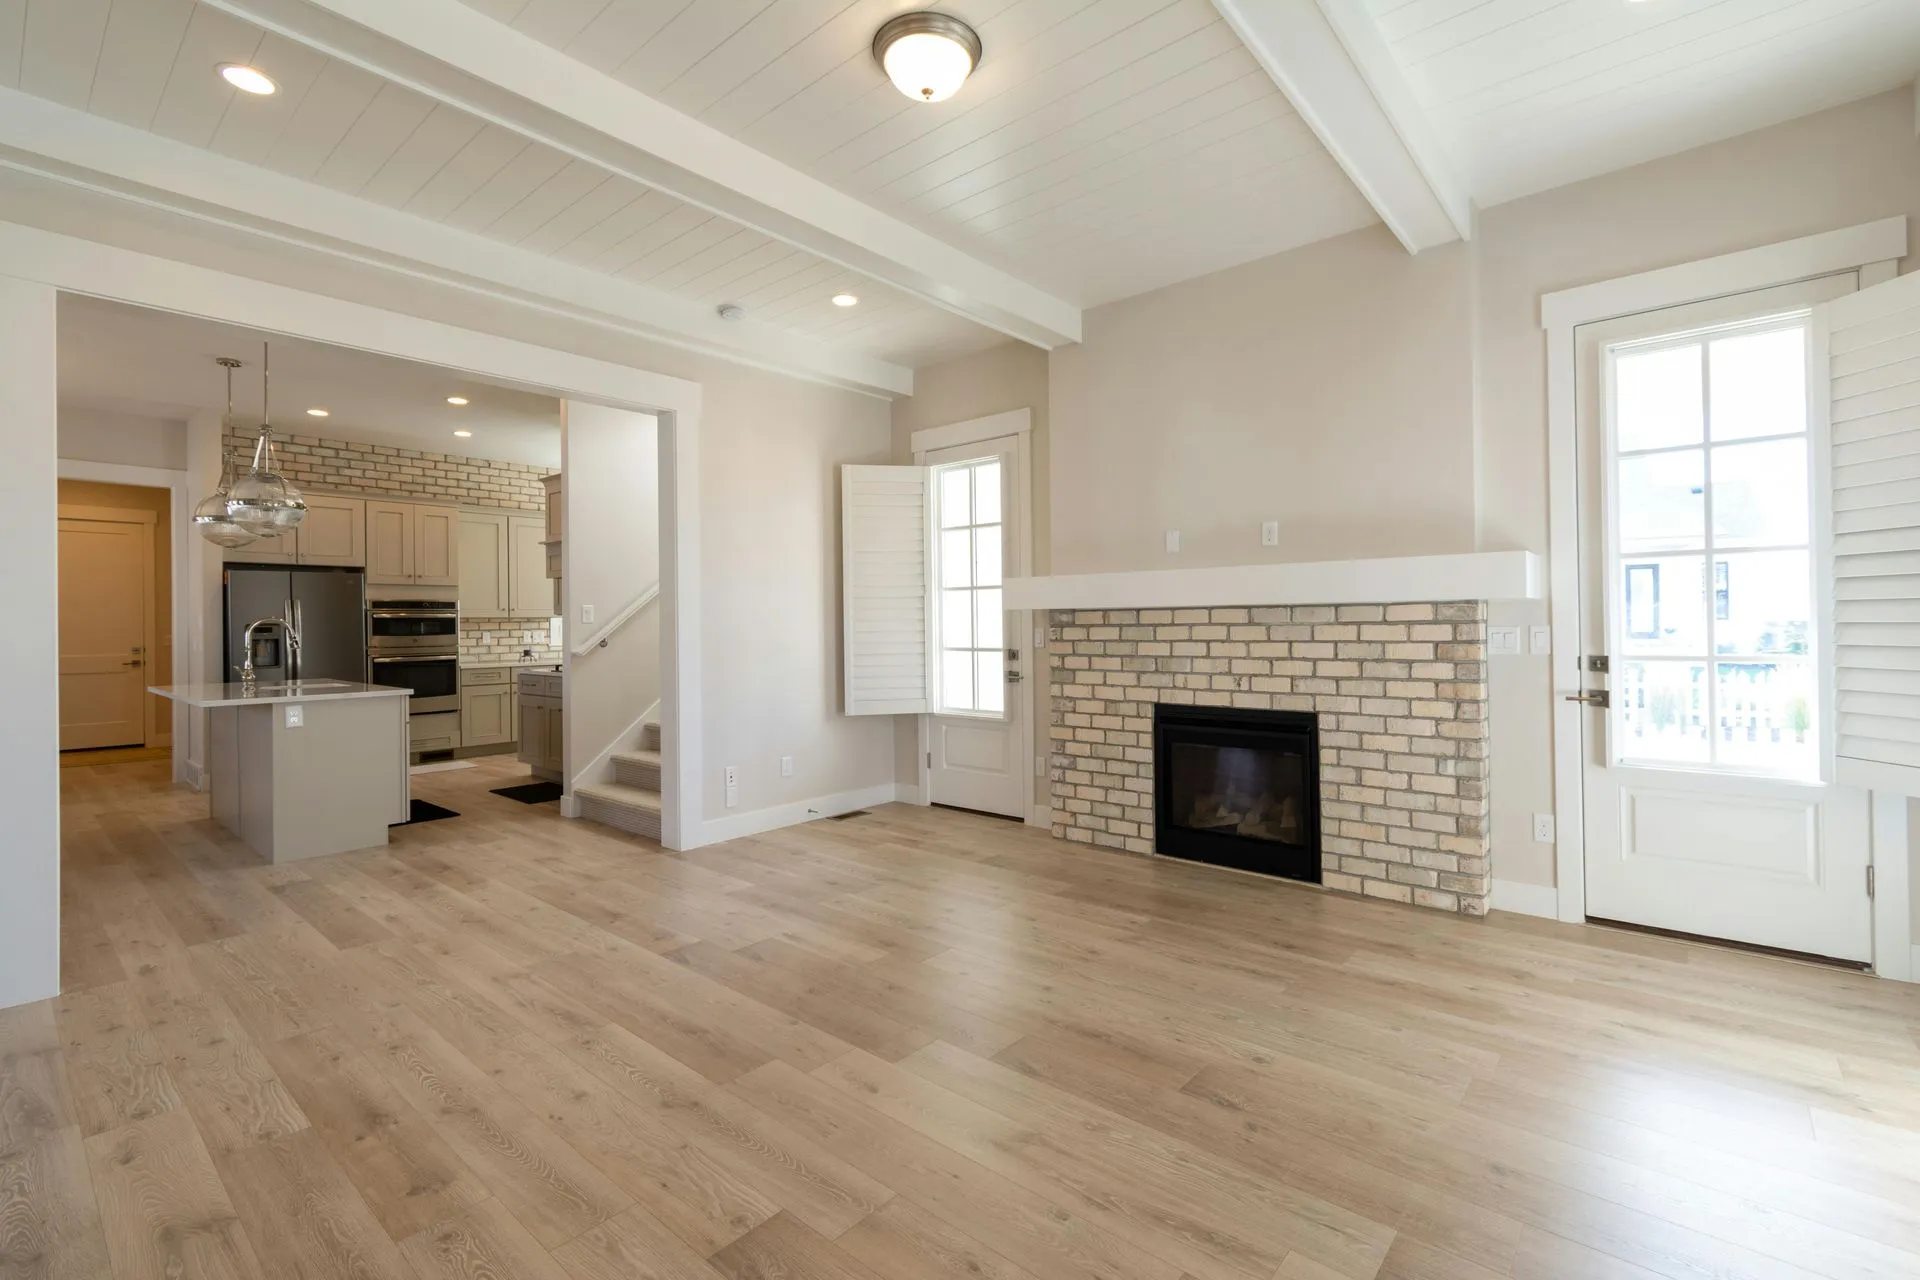
Adding a New Celling Fixture
$299.99
Elevate your home's ambiance and functionality with a stylish new ceiling fixture! Here's why upgrading your ceiling lighting is a game-changer:
Transform Your Space: A new ceiling fixture can instantly modernize your room's look, creating a welcoming and stylish atmosphere.
Boost Energy Efficiency: Upgrade to energy-saving LED fixtures and reduce your energy bills while enjoying long-lasting, eco-friendly lighting.
Increase Home Value: Enhance your home's appeal and value with a contemporary ceiling fixture, making your space more attractive to potential buyers.
DIY Friendly: Our comprehensive guide makes installation easy for DIY enthusiasts, while our professional services ensure a flawless finish for those who prefer expert help.
Why Choose Us?
- Premium Selection: Discover a wide range of ceiling fixtures that combine style, durability, and functionality to suit any taste and budget.
- Expert Support: From selecting the perfect fixture to installation, our knowledgeable team is here to assist you every step of the way.
- Safety First: Our products and services adhere to the highest safety standards, ensuring a worry-free experience.
Don't let outdated lighting dim your home's potential. Brighten up your space with a new ceiling fixture that reflects your style and enhances your living environment. Visit our website to explore our collection and find the perfect fit for your home.
Ready to light up your life with elegance and efficiency? Let's get started today! 💡
SPECIFICATIONS
Adding a new ceiling fixture can significantly improve the lighting and style of a room. Here's a step-by-step guide to help you through the process:
### Materials Needed:
- New ceiling fixture
- Screwdriver
- Wire strippers
- Wire nuts
- Voltage tester
- Ladder
### Steps:
1. **Turn Off the Power**: Ensure safety by switching off the power to the circuit you'll be working on at the main circuit breaker.
2. **Remove the Existing Fixture**:
- **Dismantle the Fixture**: Use a screwdriver to remove screws and take down the old fixture. Carefully lower the fixture and let it hang by the wires.
- **Disconnect the Wires**: Use a voltage tester to confirm the power is off. Disconnect the wires by unscrewing the wire nuts and separating the wires.
3. **Prepare the Wires**:
- **Inspect and Strip Wires**: Check the wires for any damage and trim frayed ends if necessary. Strip about 1/2 inch of insulation from the ends of the fixture wires and the house wires.
4. **Install the New Fixture**:
- **Mounting Bracket**: Install the mounting bracket provided with the new fixture to the electrical box in the ceiling.
- **Connect the Wires**: Connect the fixture wires to the house wires—black to black (hot), white to white (neutral), and green or bare to the ground wire. Use wire nuts to secure the connections.
- **Secure the Fixture**: Attach the new fixture to the mounting bracket with screws, making sure it's securely fastened.
5. **Assemble the Fixture**:
- **Install Bulbs and Covers**: Insert the bulbs into the new fixture and attach any covers or shades that came with it.
6. **Turn On the Power**: Restore power at the circuit breaker and test the new fixture to ensure it works correctly.
7. **Finishing Touches**: Clean up any debris and touch up any paint if necessary.
### Safety Tips:
- Always double-check that the power is off before working with electrical wiring.
- If you're not confident in your ability to safely perform this installation, consider hiring a licensed electrician.
By following these steps, you'll have a new ceiling fixture in no time, brightening up your space and adding a touch of elegance! If you have any specific questions or need further details, feel free to ask.
HOW TO USE
DETAILS
Adding a new ceiling fixture can significantly improve the lighting and style of a room. Here's a step-by-step guide to help you through the process:
### Materials Needed:
- New ceiling fixture
- Screwdriver
- Wire strippers
- Wire nuts
- Voltage tester
- Ladder
### Steps:
1. **Turn Off the Power**: Ensure safety by switching off the power to the circuit you'll be working on at the main circuit breaker.
2. **Remove the Existing Fixture**:
- **Dismantle the Fixture**: Use a screwdriver to remove screws and take down the old fixture. Carefully lower the fixture and let it hang by the wires.
- **Disconnect the Wires**: Use a voltage tester to confirm the power is off. Disconnect the wires by unscrewing the wire nuts and separating the wires.
3. **Prepare the Wires**:
- **Inspect and Strip Wires**: Check the wires for any damage and trim frayed ends if necessary. Strip about 1/2 inch of insulation from the ends of the fixture wires and the house wires.
4. **Install the New Fixture**:
- **Mounting Bracket**: Install the mounting bracket provided with the new fixture to the electrical box in the ceiling.
- **Connect the Wires**: Connect the fixture wires to the house wires—black to black (hot), white to white (neutral), and green or bare to the ground wire. Use wire nuts to secure the connections.
- **Secure the Fixture**: Attach the new fixture to the mounting bracket with screws, making sure it's securely fastened.
5. **Assemble the Fixture**:
- **Install Bulbs and Covers**: Insert the bulbs into the new fixture and attach any covers or shades that came with it.
6. **Turn On the Power**: Restore power at the circuit breaker and test the new fixture to ensure it works correctly.
7. **Finishing Touches**: Clean up any debris and touch up any paint if necessary.
### Safety Tips:
- Always double-check that the power is off before working with electrical wiring.
- If you're not confident in your ability to safely perform this installation, consider hiring a licensed electrician.
By following these steps, you'll have a new ceiling fixture in no time, brightening up your space and adding a touch of elegance! If you have any specific questions or need further details, feel free to ask.